Cutting And Pasting Activity For Preschool
Introducing a cutting and pasting activity for preschool can be an engaging way to develop fine motor skills while sparking creativity. This type of activity is particularly beneficial for young children as it combines play with essential learning processes. With the right materials and guidance, you can create an exciting and educational experience that fosters both skill development and creativity.
The Importance of Cutting and Pasting for Preschoolers
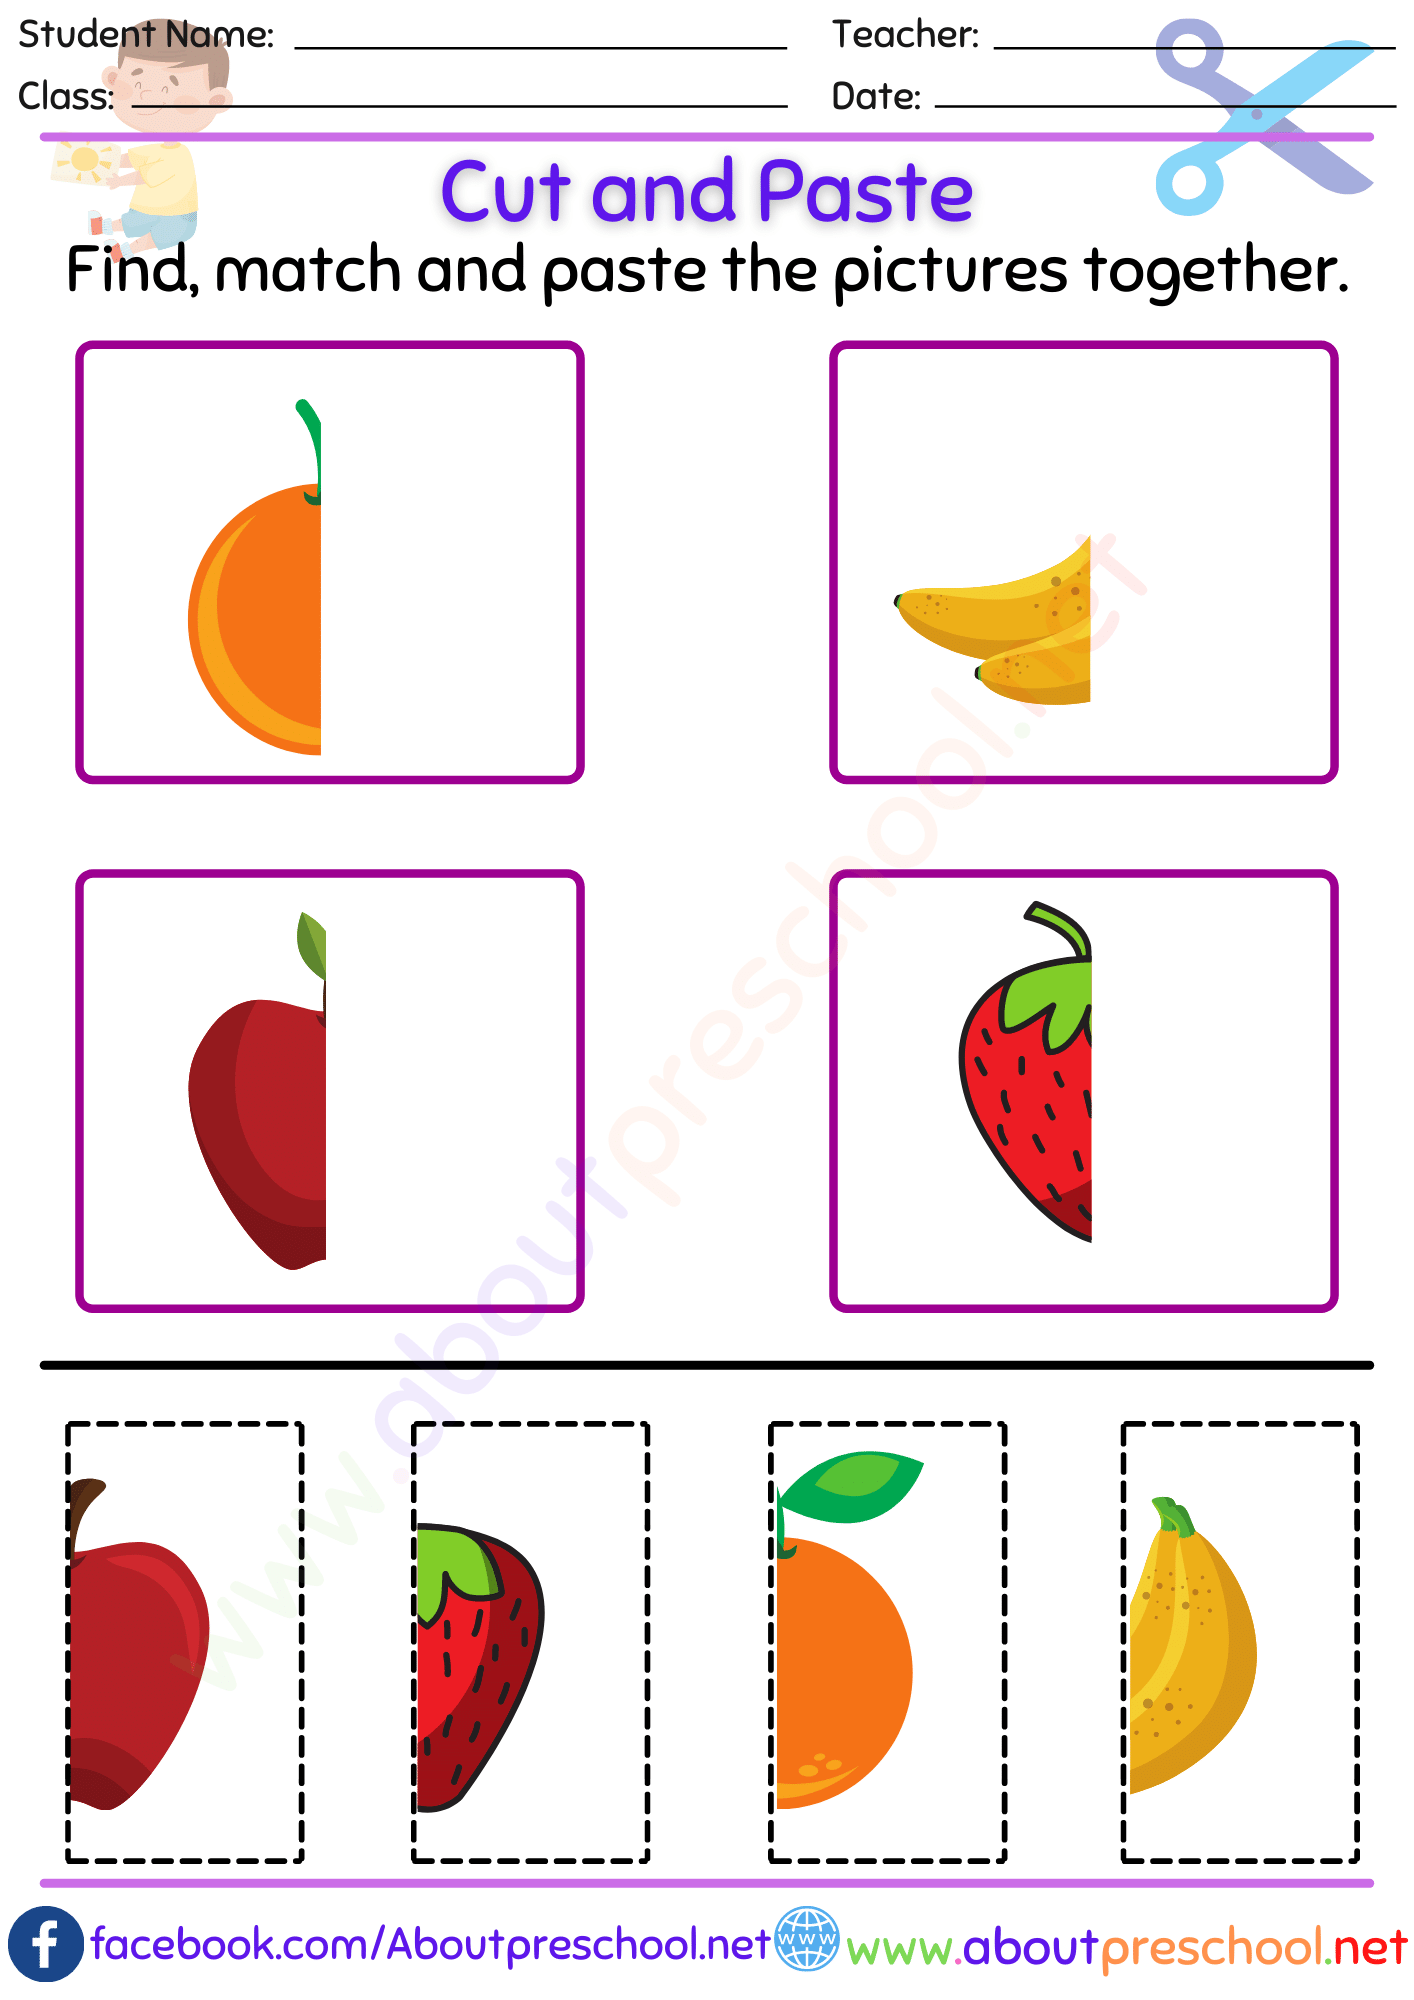
Cutting and pasting activities offer a myriad of benefits for preschool-aged children. These activities not only enhance fine motor skills but also promote hand-eye coordination, concentration, and creativity. When children practice cutting, they learn to manipulate scissors, which can be a challenging skill for some. Pasting requires them to focus on placement and alignment, further improving their dexterity.
Additionally, these activities allow children to express their creativity. By choosing what to cut and where to paste, they make decisions that strengthen their confidence and self-expression. Engaging in cutting and pasting also encourages teamwork and collaboration when done in groups, as they can share ideas and materials with their peers.
Setting Up Your Cutting and Pasting Station
To effectively execute a cutting and pasting activity, a well-organized station is essential. Consider the following elements when setting up your space:
- Materials Needed: Gather child-safe scissors, glue sticks, various types of paper (construction paper, magazines, colored paper), and a protective covering for the workspace, such as newspaper or a plastic tablecloth.
- Size of Paper: Use paper sizes that are manageable for small hands. A standard letter size (8.5 x 11 inches) is suitable, but you might also consider smaller sizes for more intricate designs.
- Seating Arrangement: Ensure that children are seated comfortably at tables or desks where they can reach all materials easily. A round table can encourage collaboration among children.
- Safety Precautions: Always supervise children while they use scissors. Consider using safety scissors for younger preschoolers to minimize the risk of injury.
Creative Ideas for Cutting and Pasting Activities
Now that your station is ready, here are some engaging ideas to inspire the children:
Collage Creation
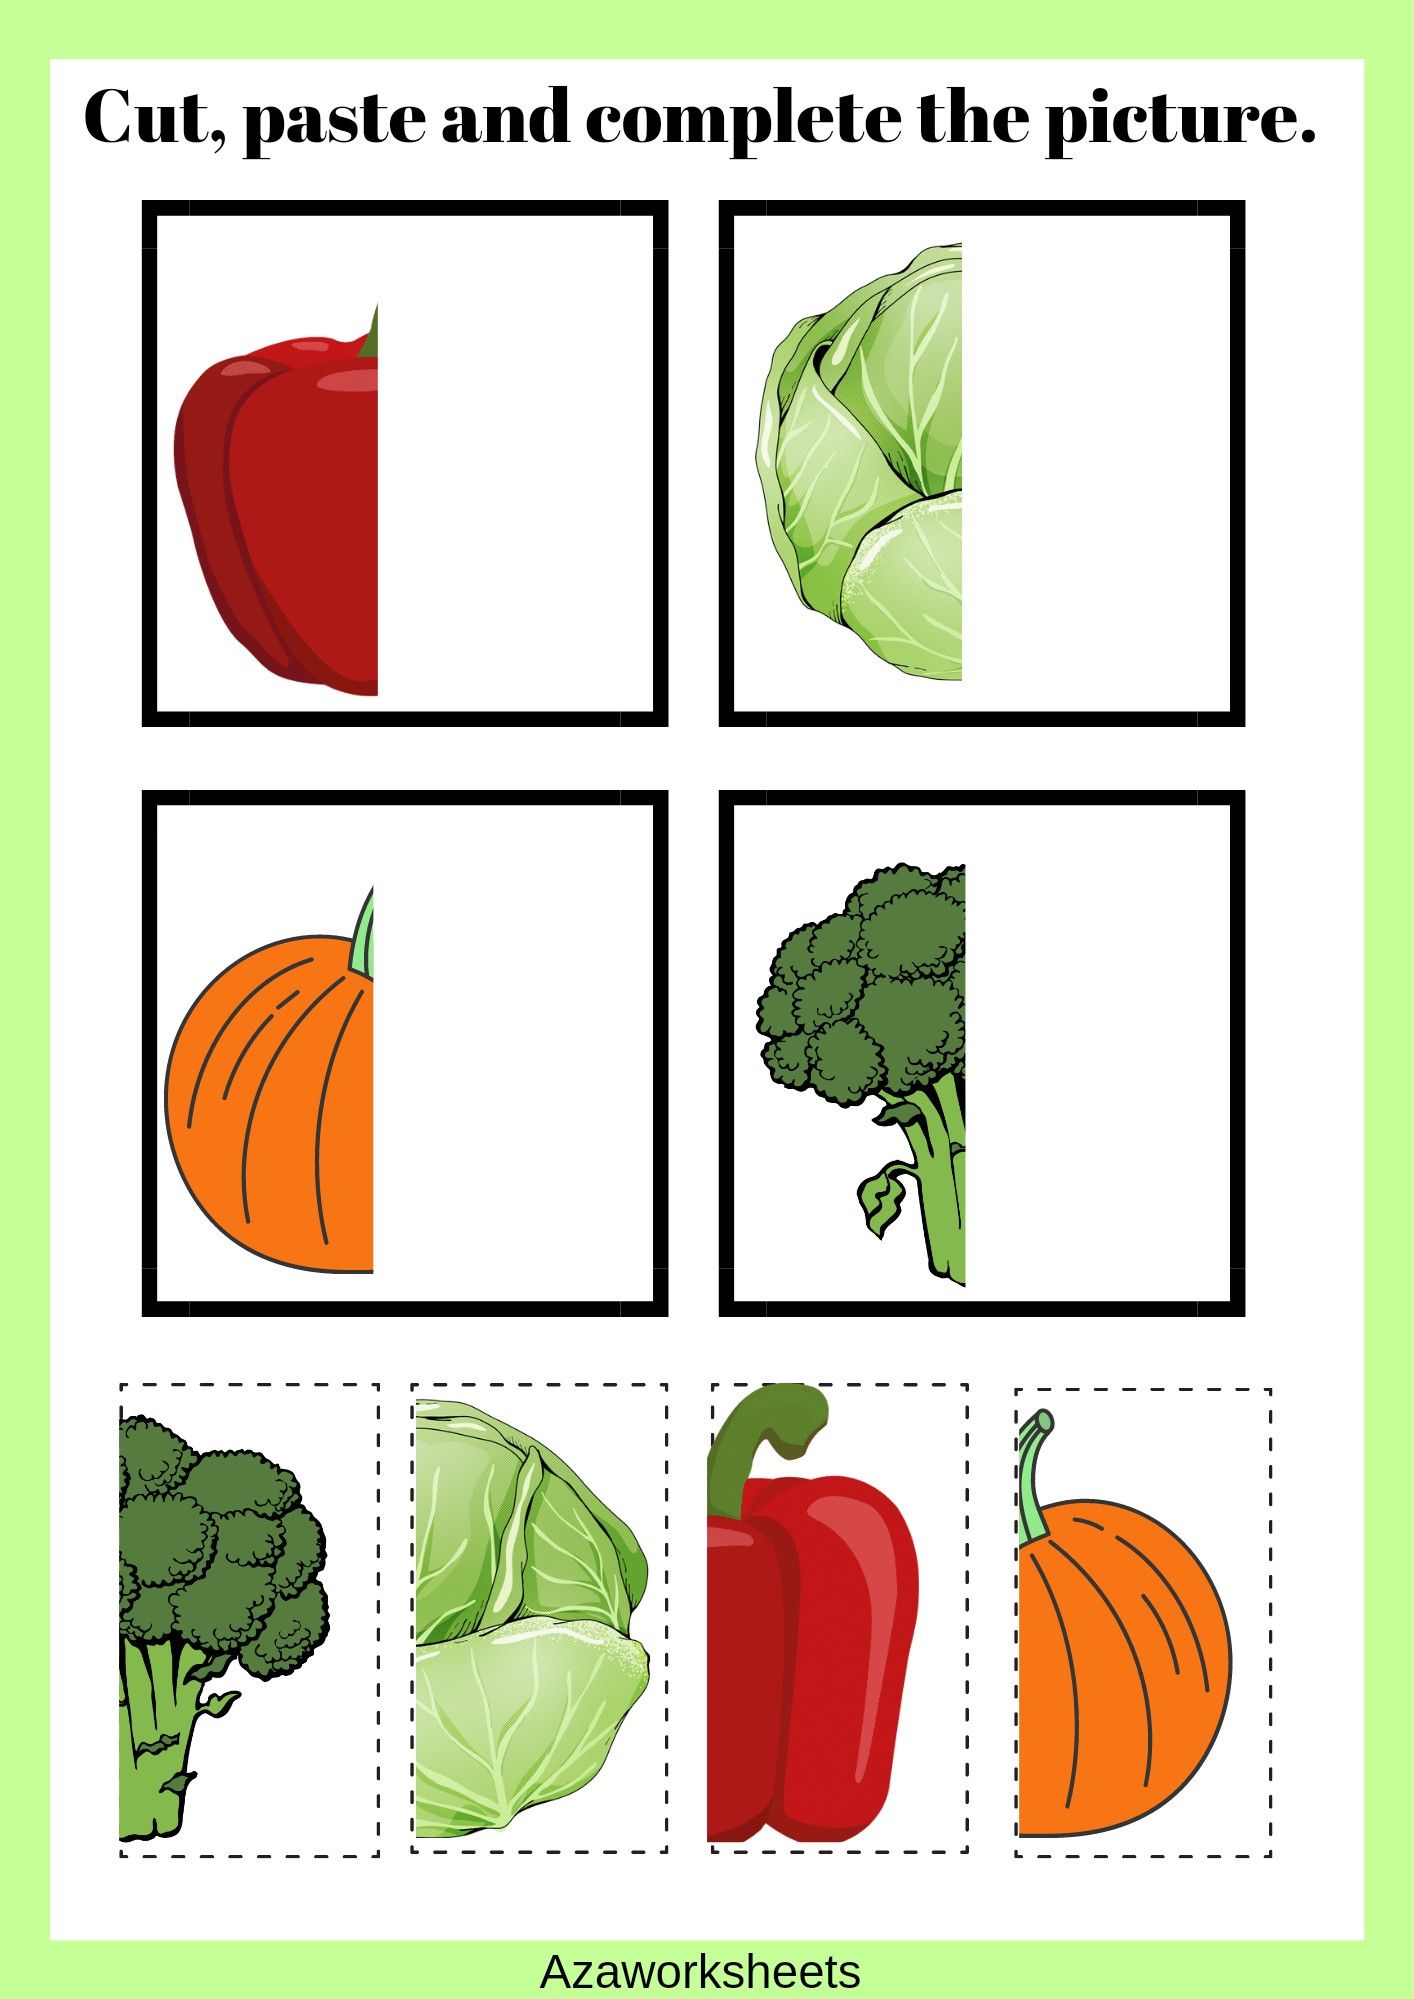
This is a classic cutting and pasting activity that allows children to explore different textures and colors.
- Provide children with various magazines and newspapers.
- Instruct them to cut out pictures or shapes that they find interesting.
- Once they have a selection, they can arrange and paste them on a larger sheet of paper to create a unique collage.
This activity encourages decision-making as they choose what to include in their artwork.
Seasonal Themes
Incorporate seasonal themes into your cutting and pasting activities. For example:
- Spring: Cut out flowers, butterflies, and sun shapes. Children can create a vibrant spring scene.
- Fall: Use colored paper to cut out leaves and pumpkins. They can paste these items onto a background to create an autumn landscape.
Themed activities not only make the process fun but also help children learn about different seasons and their characteristics.
Storytelling Using Cutouts
Combine literacy and art by encouraging children to create characters or scenes from a story they enjoy.
- After reading a story, ask children to cut out various elements related to the plot.
- They can then paste these elements onto a storyboard, illustrating their understanding of the narrative.
This activity encourages comprehension and allows children to express their interpretations creatively.
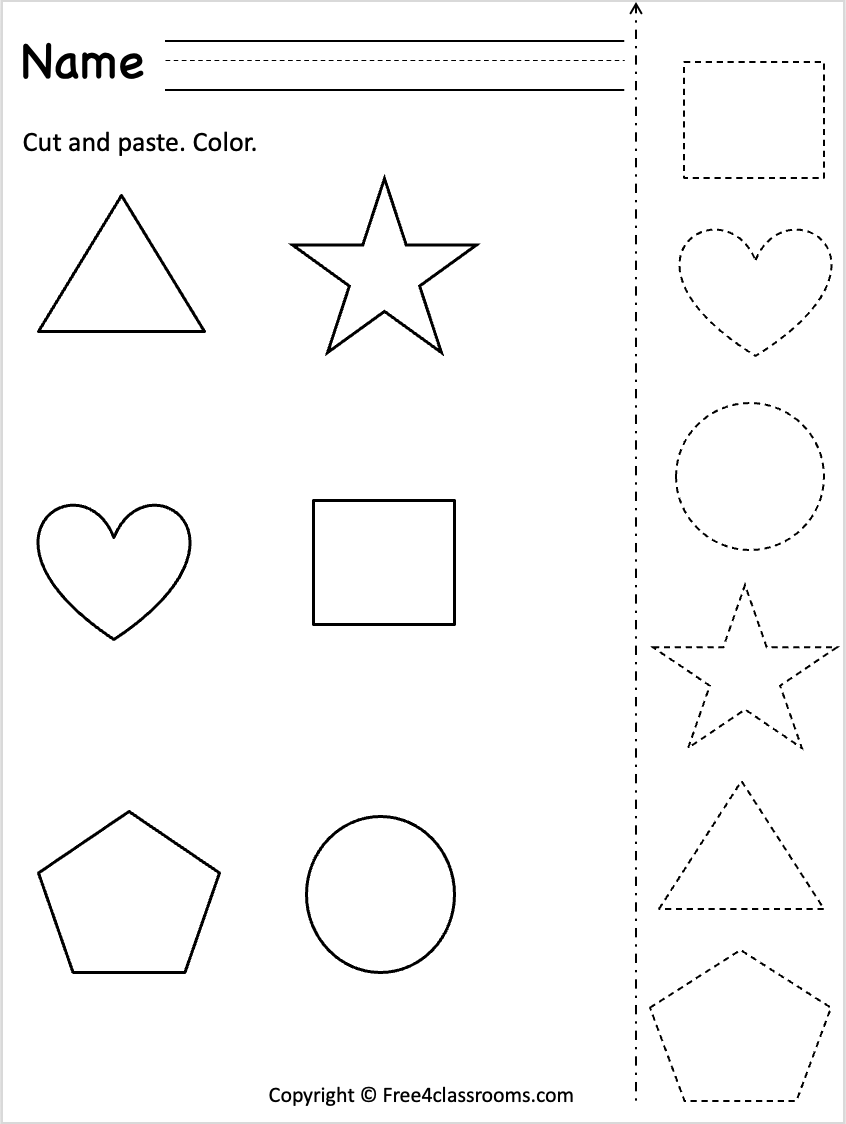
Tracking Progress and Skill Development
As preschool teachers, it’s essential to track the progress of your students during cutting and pasting activities. Here are some practical methods:
- Observation: Take notes on each child’s ability to use scissors and glue. Observe their grip, control, and how they handle materials.
- Portfolio: Create a portfolio for each child where you can store their completed projects. This visual representation of their work will help you assess their skills over time.
- Feedback: Encourage children by providing positive feedback on their efforts. Ask them to describe what they created, which fosters verbal skills and self-reflection.