Cutting Practice For Pre K
Cutting skills are essential for preschoolers, helping them develop fine motor abilities crucial for writing, drawing, and other activities. However, many teachers struggle to find the right resources to teach these skills effectively. That’s where cutting practice for Pre K comes in. This guide will walk you through how to implement cutting practice resources in your classroom, ensuring that your young learners engage, progress, and enjoy the process.
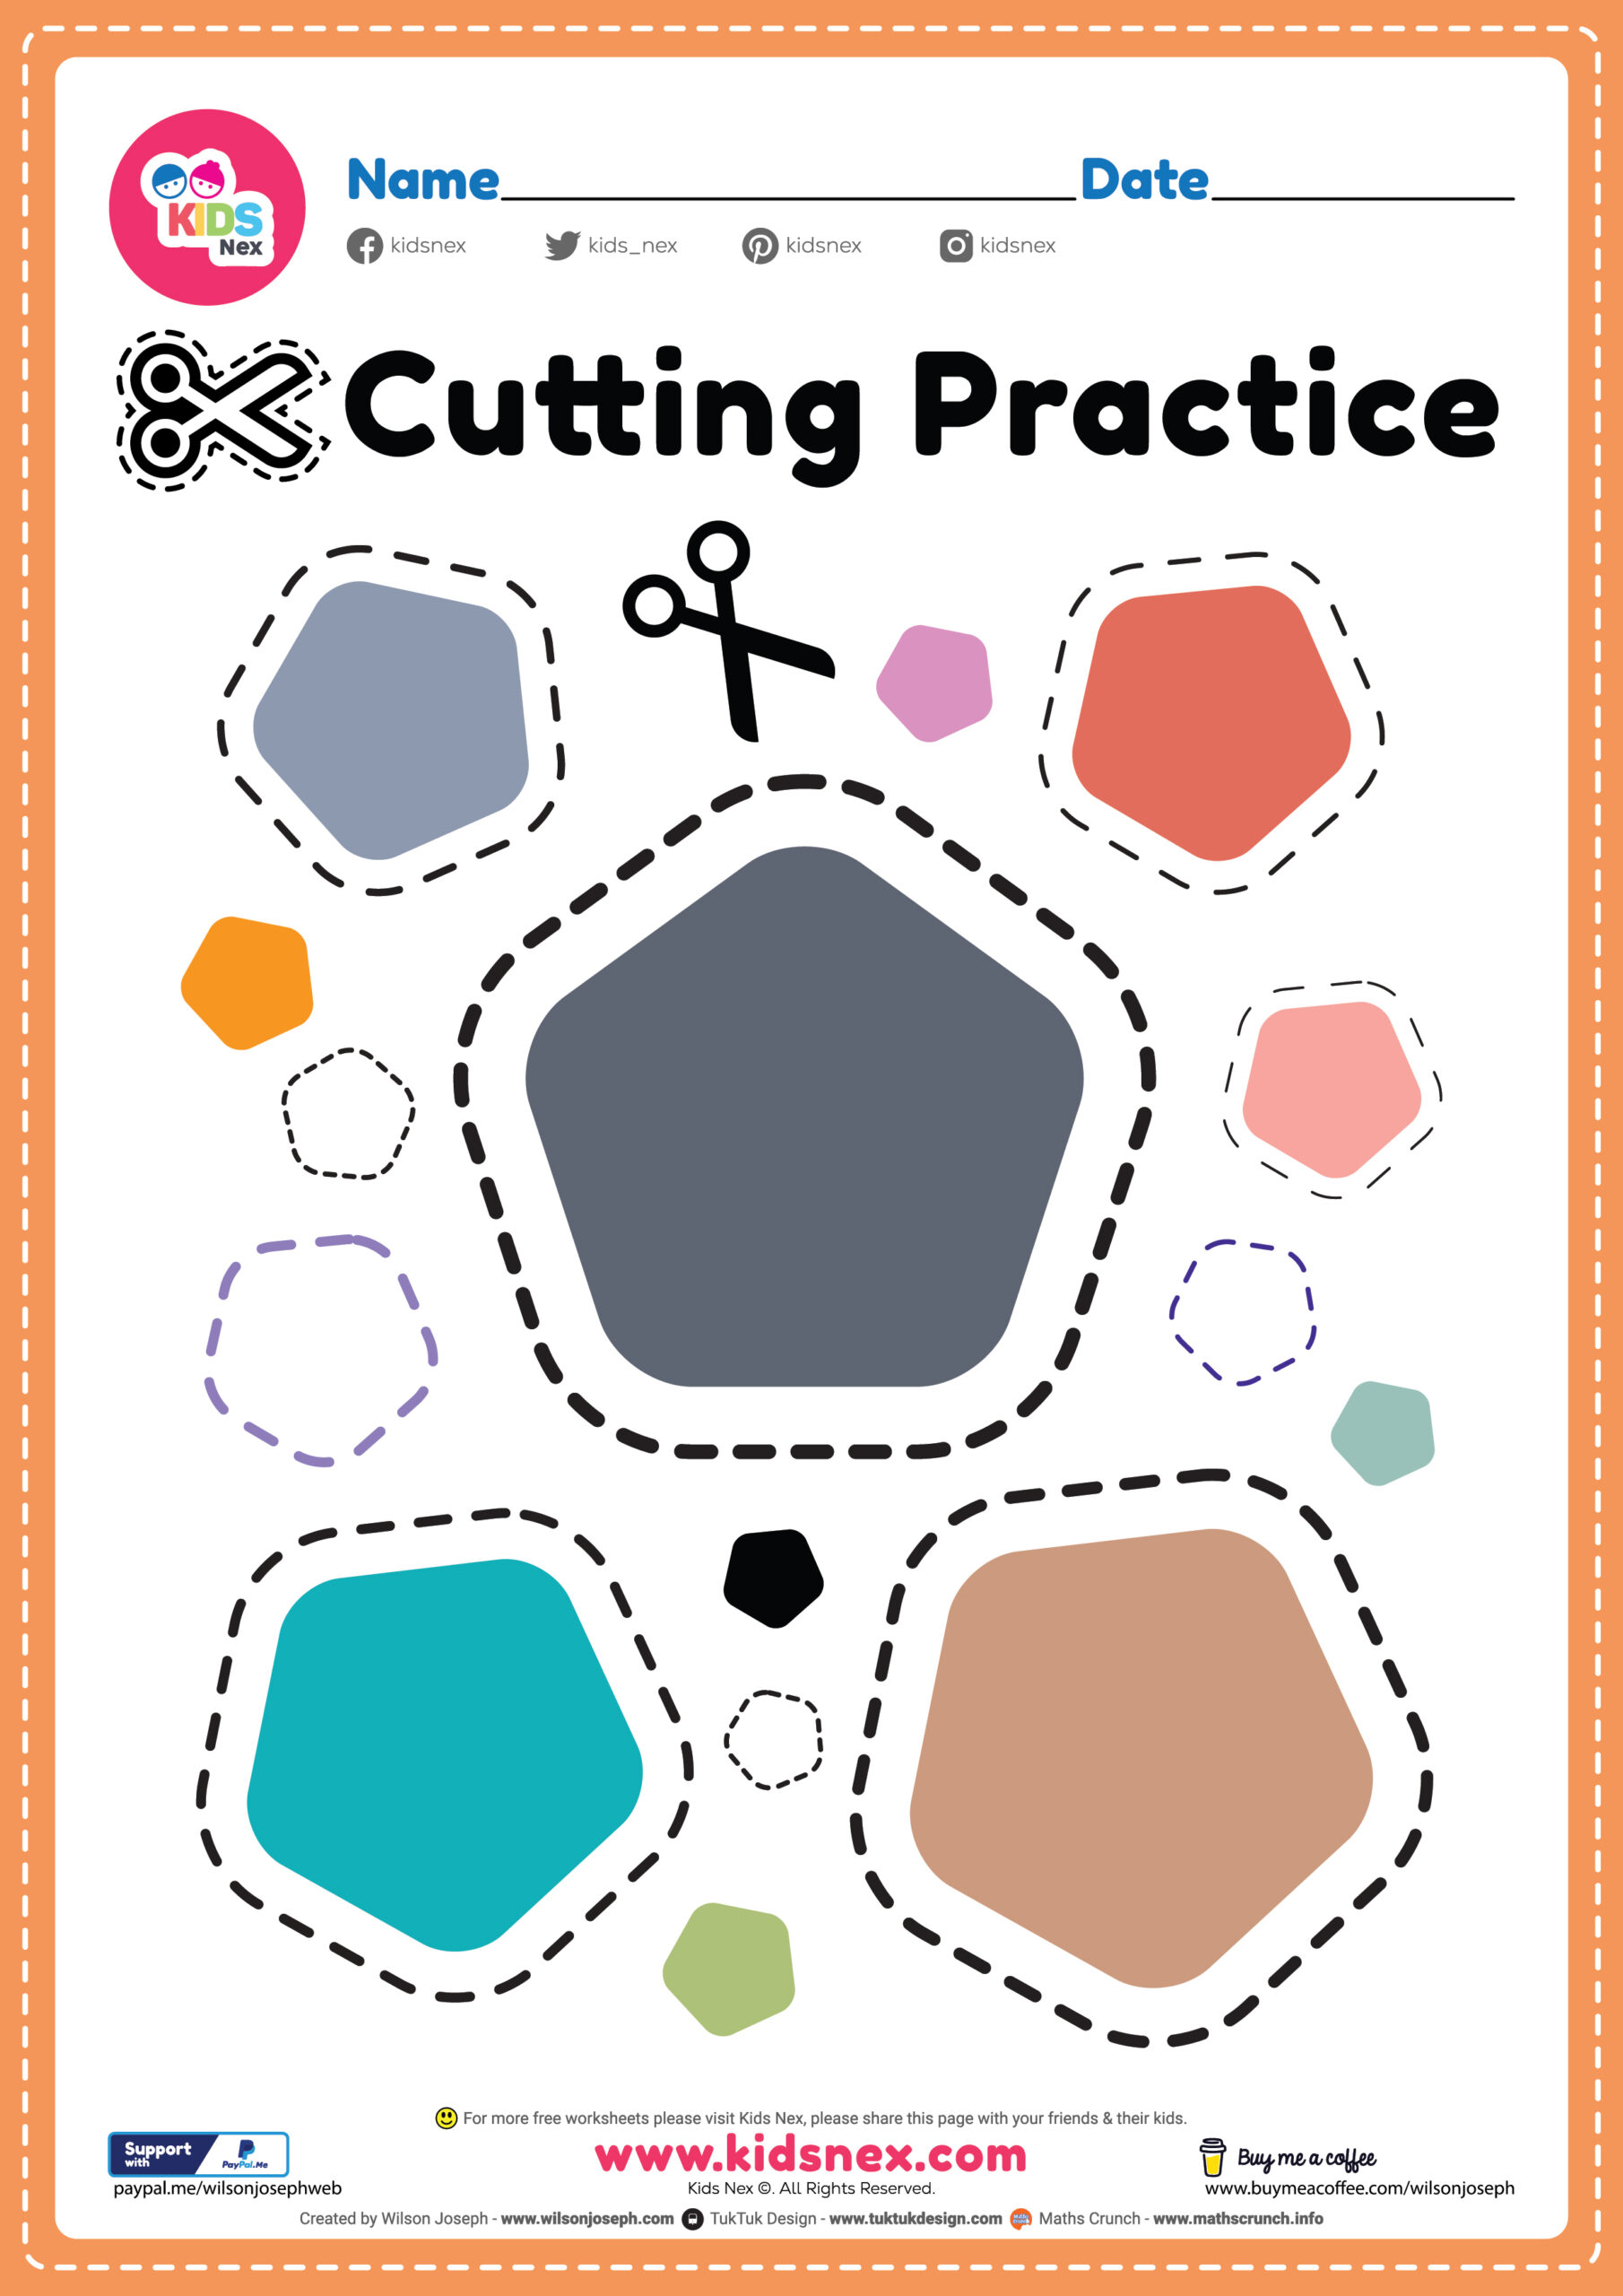
Understanding the Importance of Cutting Practice
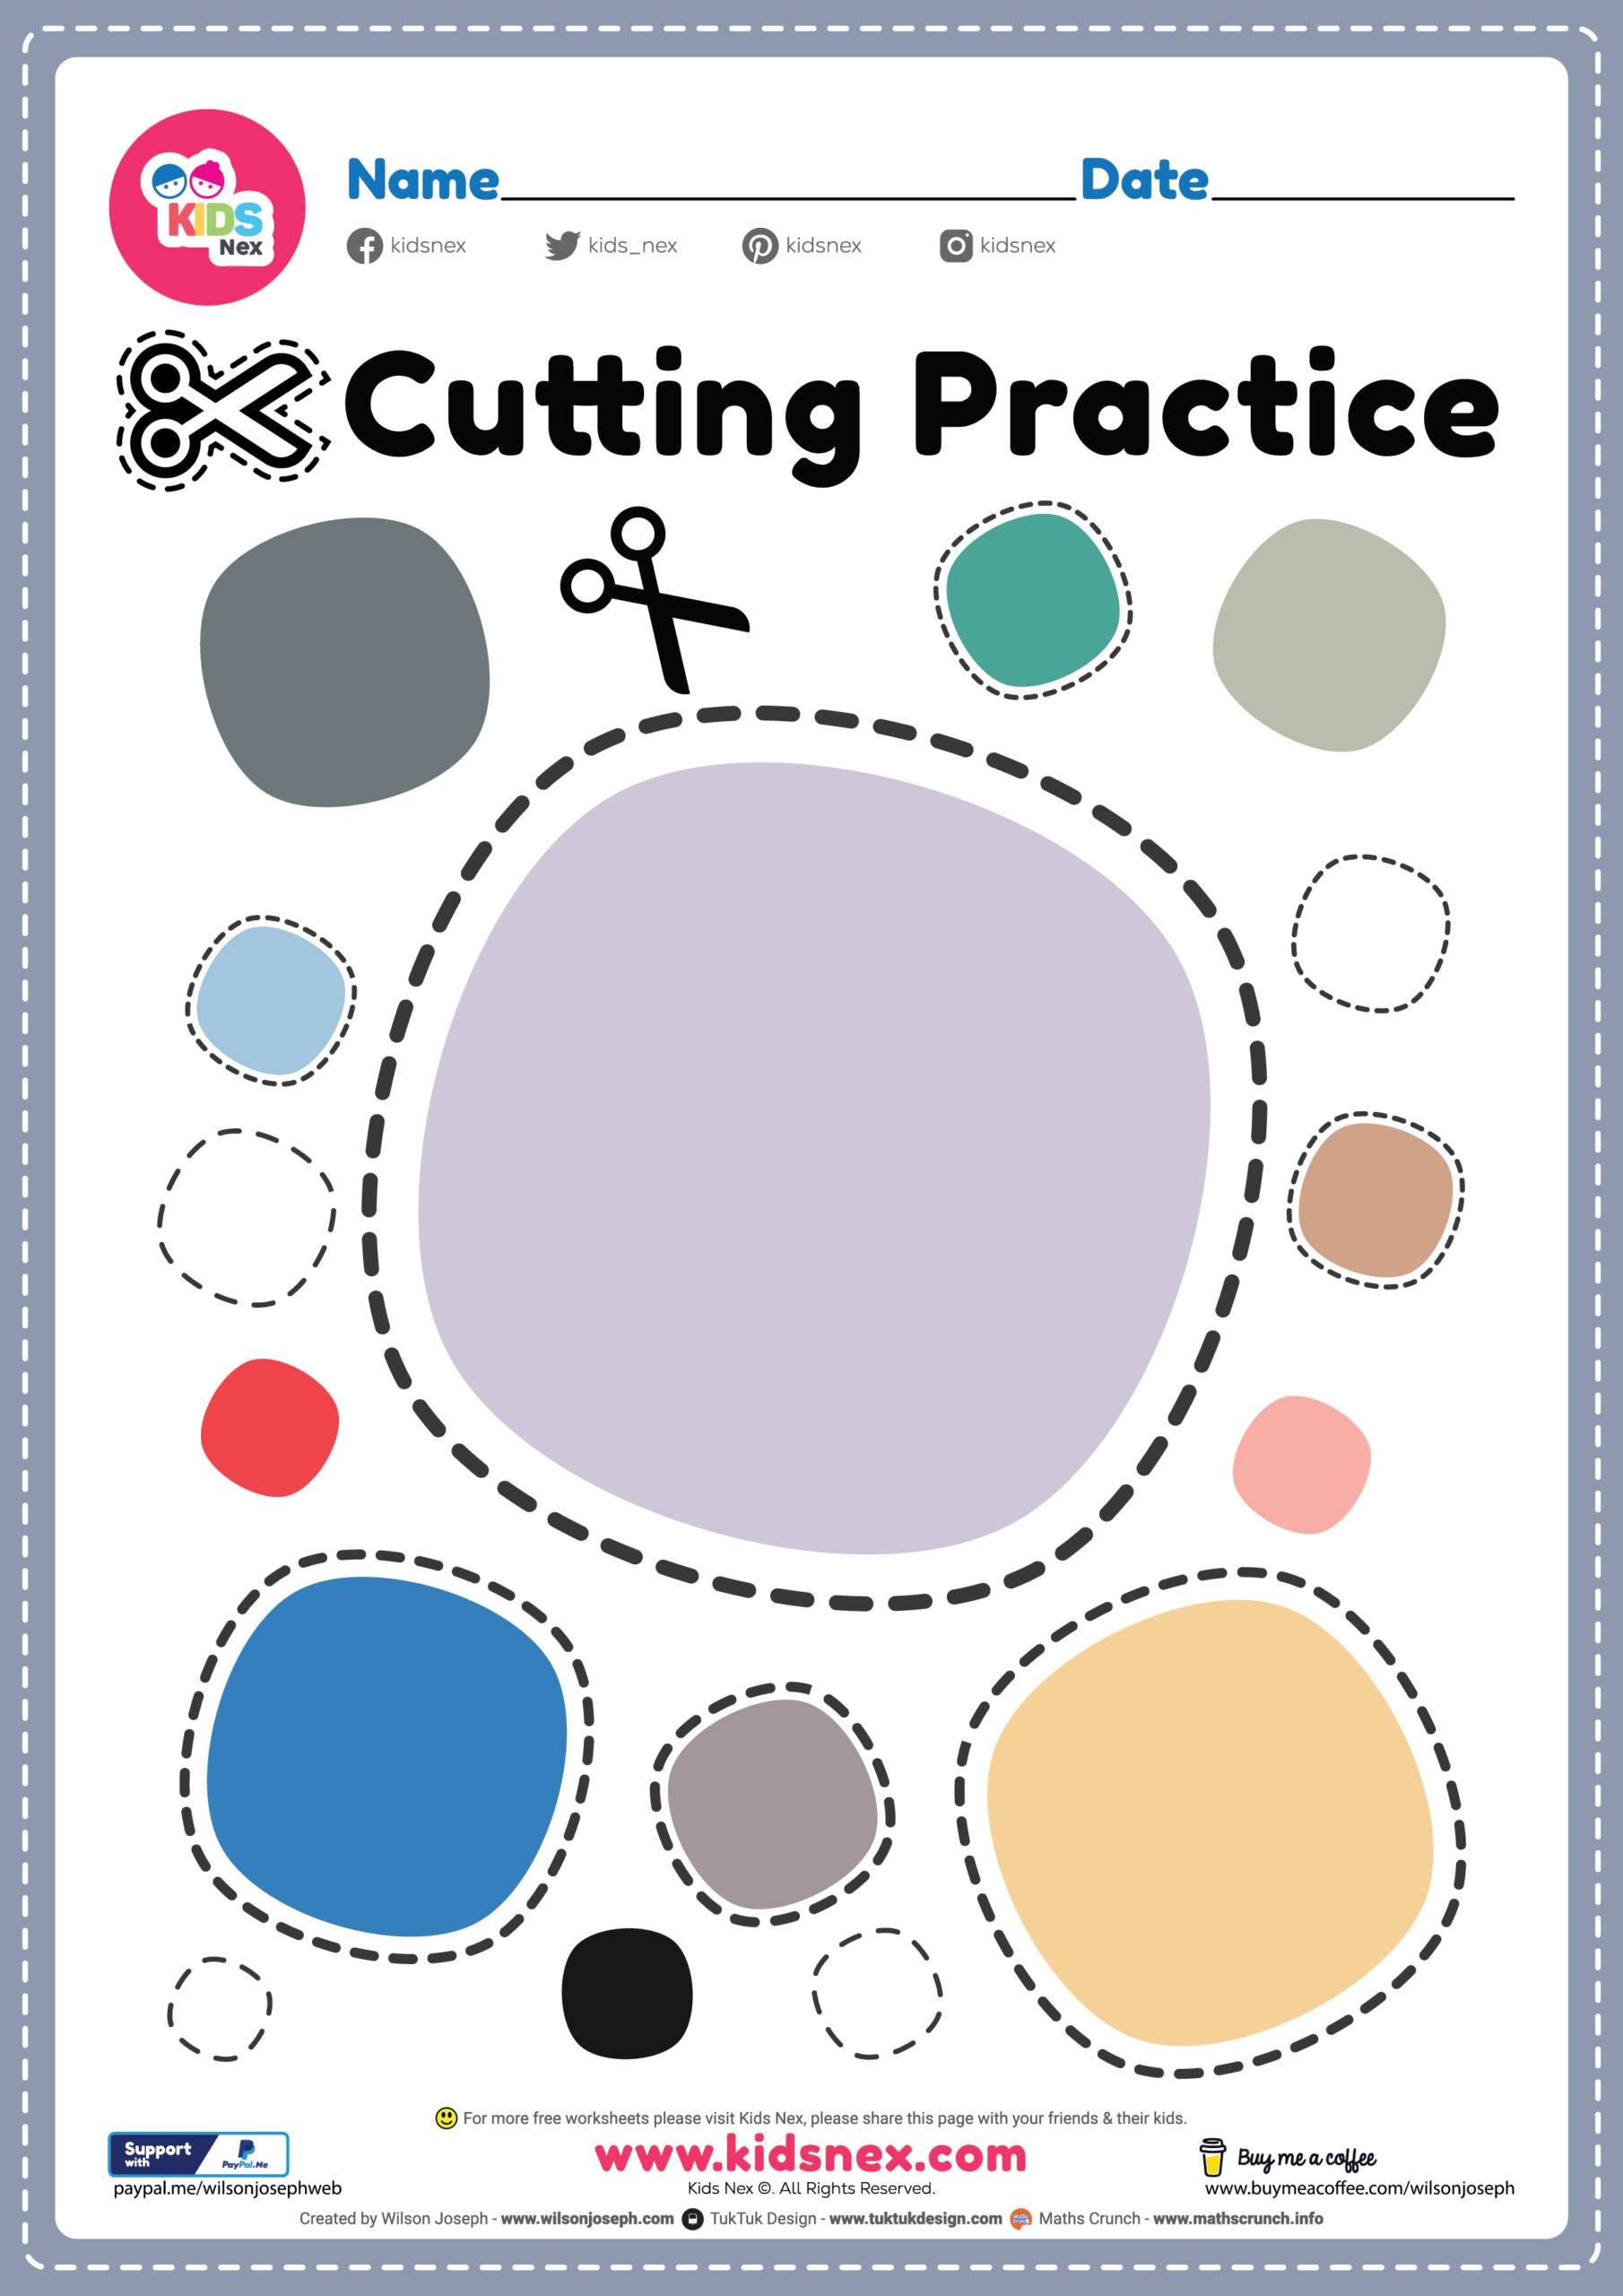
Fine motor skills are foundational for children’s overall development. Activities like cutting help strengthen hand muscles, improve hand-eye coordination, and enhance concentration. By introducing cutting practice in a structured way, you set the stage for success in future learning.
Children in Pre K are often eager to explore and create. Cutting activities not only allow them to express their creativity but also build the dexterity needed for more complex tasks later on. As a teacher, you want to harness that enthusiasm while providing structured learning experiences.
Selecting the Right Resources
When looking for cutting practice resources, consider a few key factors:
- Age Appropriateness: Ensure the materials are designed for Pre K students. They should feature simple lines and shapes to make cutting easier and more enjoyable.
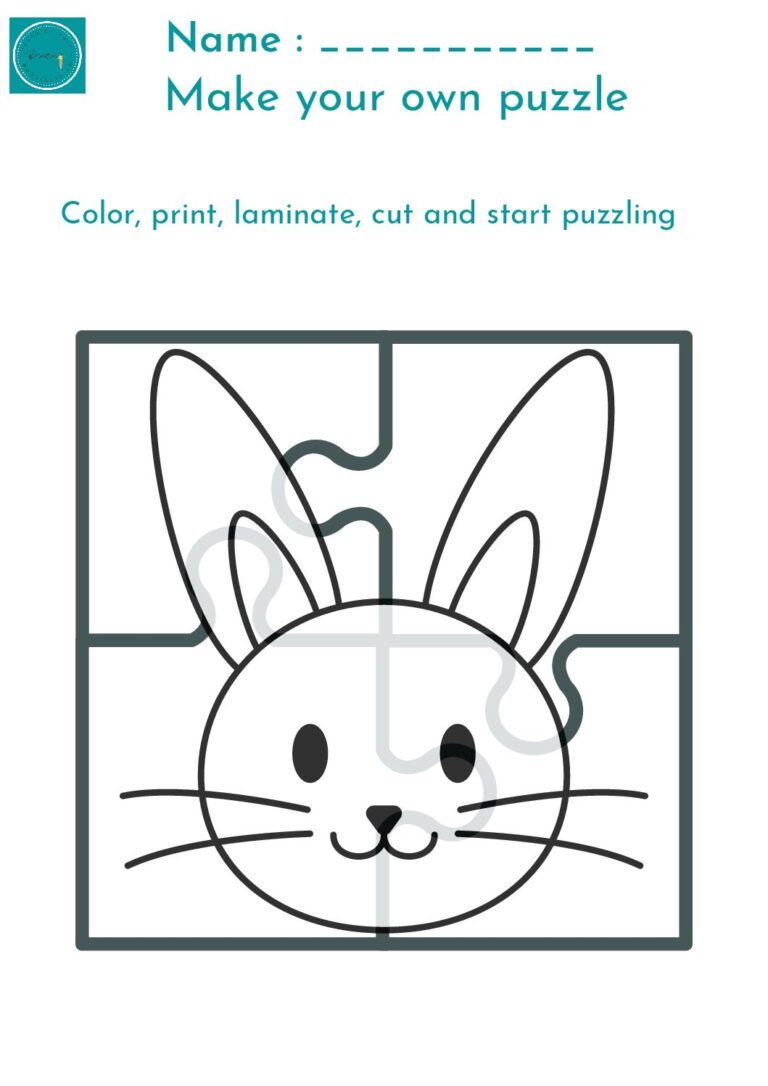
- Variety: Look for resources that provide a mix of cutting tasks. This includes straight lines, curves, and shapes. Engaging worksheets or colorful templates can keep students interested.
- Format: Printable resources are ideal. They can be easily downloaded, printed, and distributed. Check that they are in PDF format, as this helps maintain the layout when printed.
- Progress Tracking: Choose resources that allow you to track students’ progress. Some worksheets might include a checklist or space for notes on each child’s development.
By focusing on these factors, you can select cutting practice resources that align with your teaching goals.
Downloading and Printing the Resources
Once you’ve selected your cutting practice templates, the next step is to download and print them. Here’s how to do that effectively:
- Download: Click on the download link for the chosen resource. Most printable resources are available as PDFs, which makes them easy to save and access later.
- Check Printer Settings: Before printing, ensure your printer is set to the correct paper size—usually, letter size (8.5 x 11 inches) works best. Also, select the portrait layout for optimal use.
- Print Quality: Choose a higher print quality setting for clear images and lines. This ensures that the cutting lines are distinct and easy for children to follow.
- Paper Type: Consider using cardstock for durability, especially if the resources will be used multiple times. If you plan to laminate the sheets, cardstock is a better choice than regular printer paper.
By following these steps, you’ll have a set of high-quality cutting practice sheets ready for your students.
Setting Up the Activity
Now that you have your cutting practice resources printed, it’s time to set up the activity in your classroom. Here’s a step-by-step guide:
- Gather Supplies: Ensure you have child-safe scissors, a cutting mat or surface, and the printed worksheets ready. You might also want to include crayons or markers for students to decorate their work after cutting.
- Demonstrate Cutting Technique: Before students start, demonstrate how to hold scissors safely and how to cut along the lines. Use phrases like “open and close the scissors” to help them understand the motion.
- Start Simple: Begin with straight lines, then gradually introduce curves and shapes as their confidence grows. Encourage students to take their time and focus on accuracy.
- Provide Support: Walk around the room to offer assistance and encouragement. If a student struggles, gently guide their hand or suggest they try cutting more slowly.
- Encourage Creativity: After cutting, allow students to color or decorate their creations. This adds an extra layer of engagement and allows them to express their artistic side.
Tracking Progress
Monitoring students’ progress in cutting skills is crucial for adapting your teaching approach. Here are some effective ways to do this:
- Observation: Take notes on each child’s cutting technique and progress. Look for improvements in their ability to follow lines and control scissors.
- Checklist: Use a simple checklist to mark off skills as students master them. Include items like “cut straight lines,” “cut curves,” and “cut shapes.”
- Portfolio: Create a portfolio for each student where you can keep their best cutting work. This not only tracks progress but also instills a sense of pride in their achievements.
- Regular Assessment: Plan periodic assessments to see how students are progressing over time. This could involve having them complete a cutting task and reviewing their work together.
By implementing these tracking methods, you can adjust your teaching strategies and provide targeted support to each student.
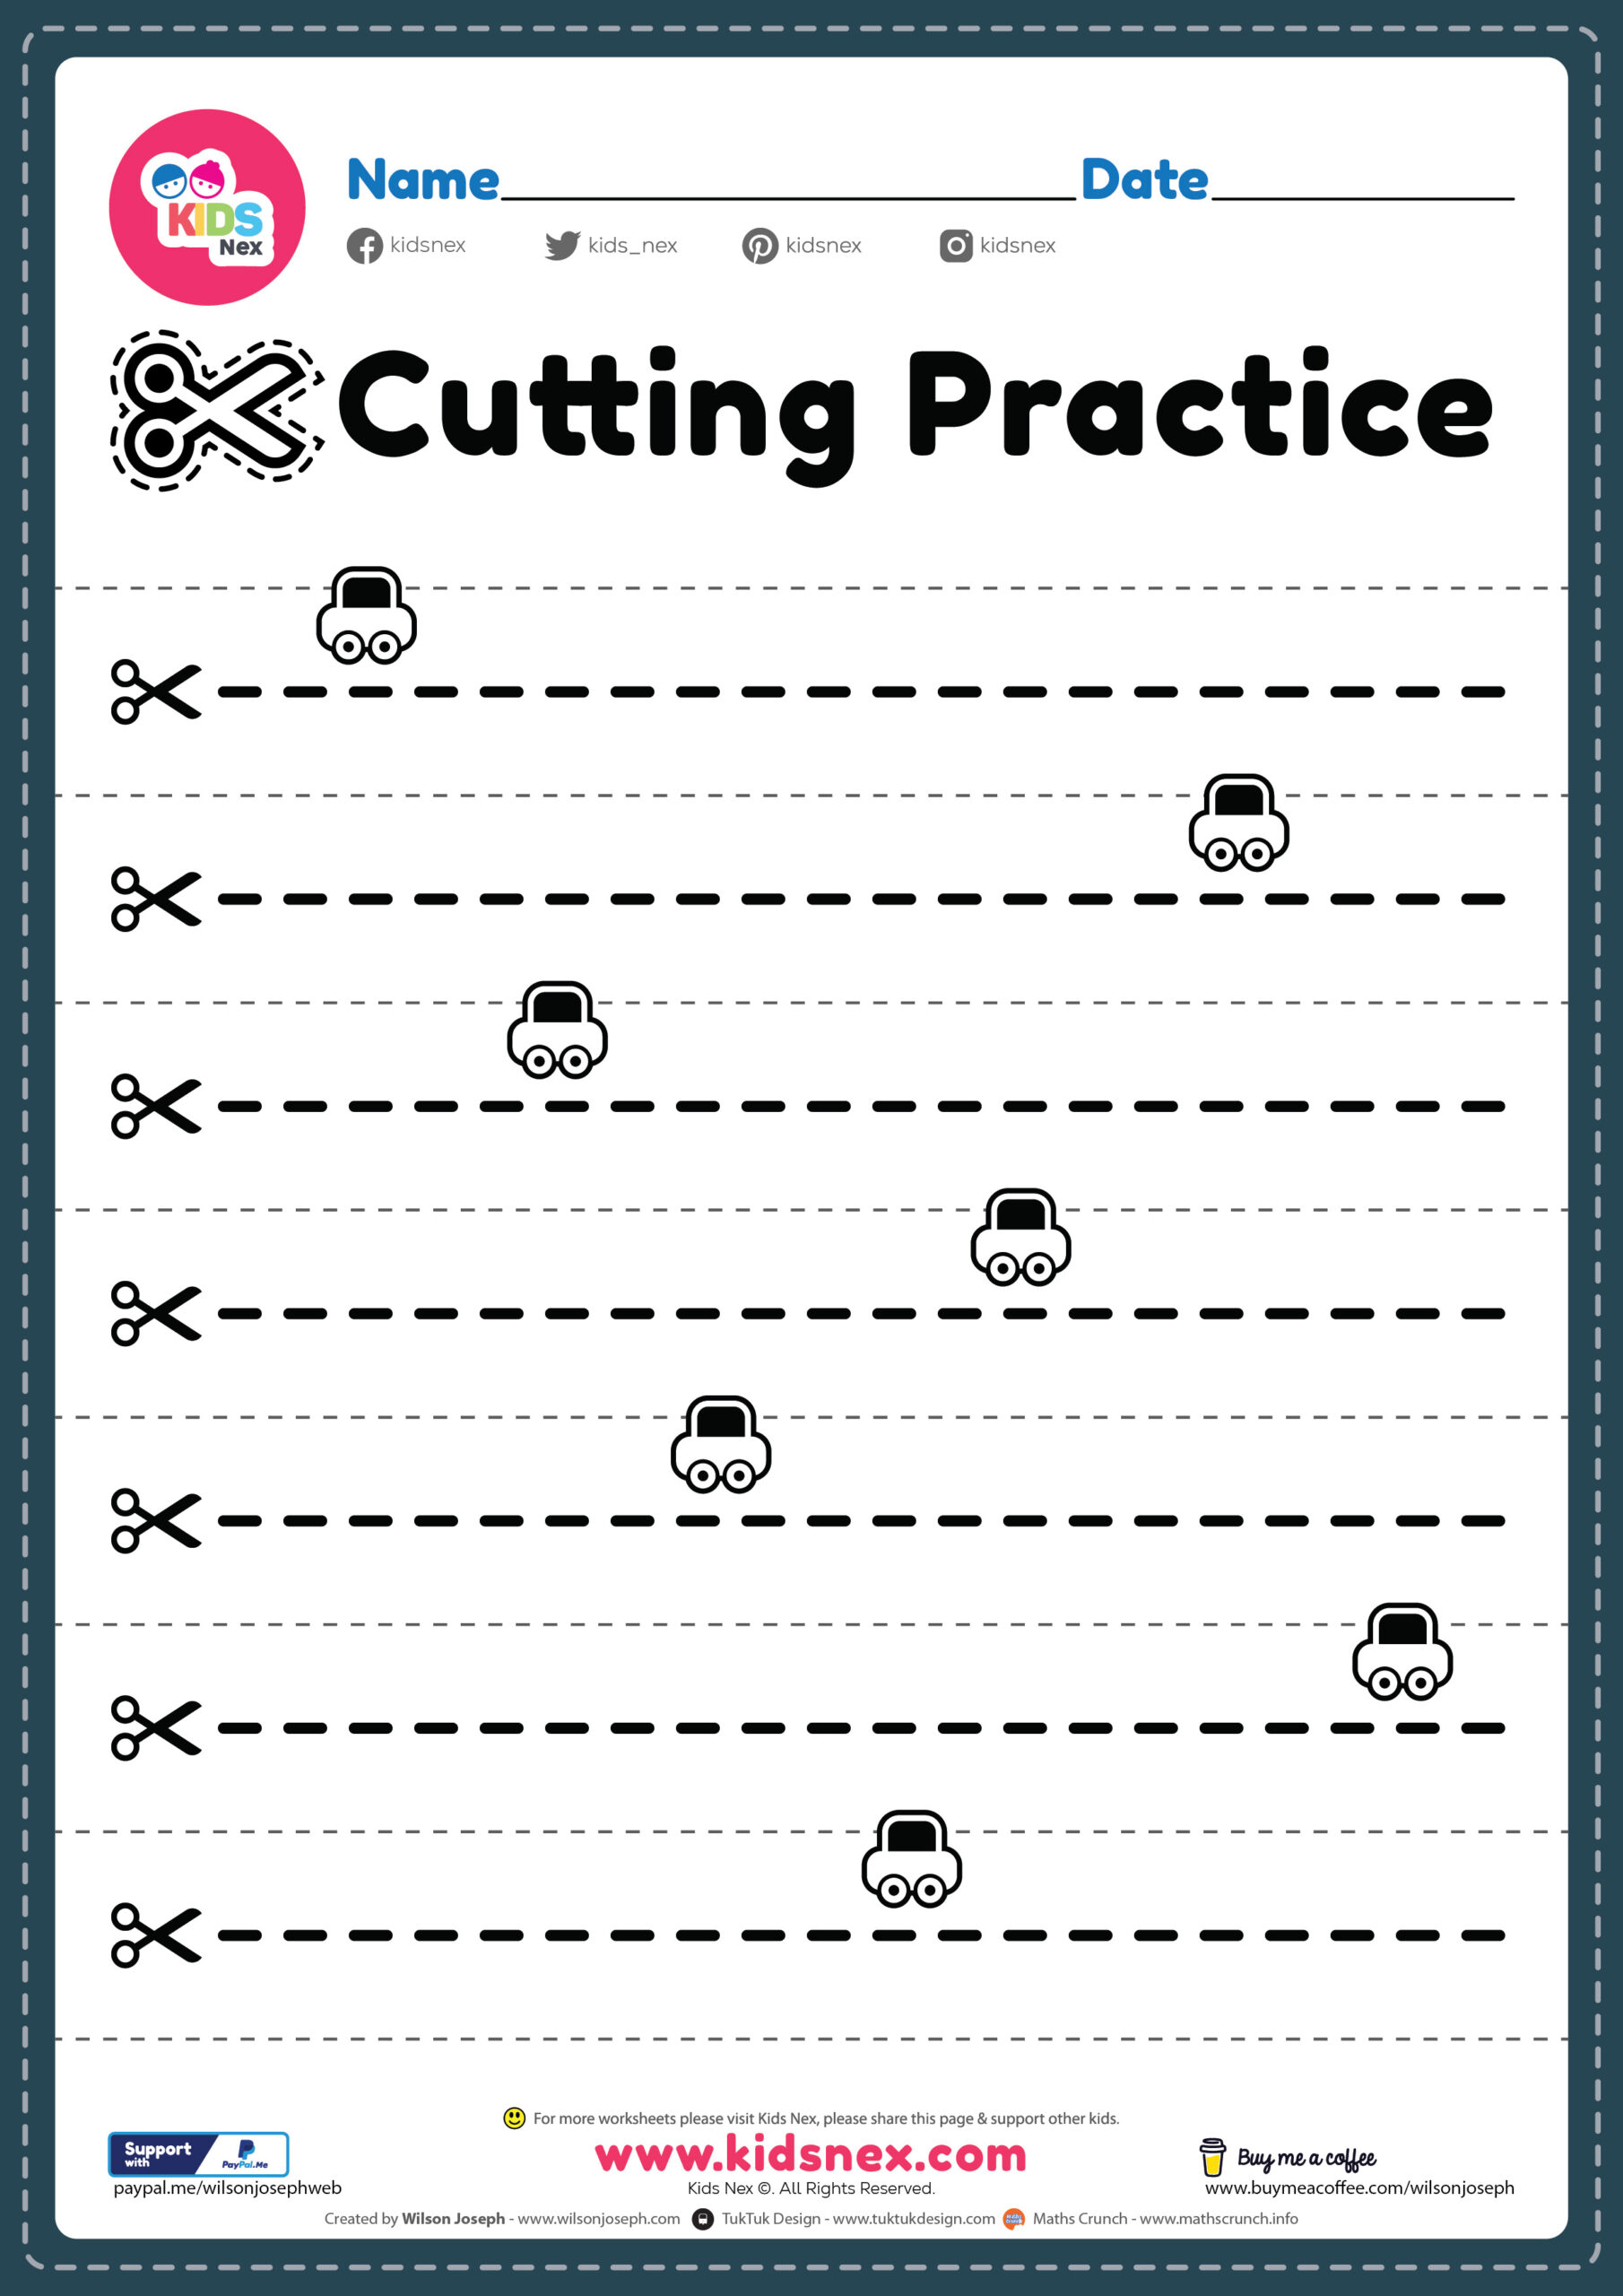
Tips for Success
To ensure that cutting practice is a positive experience for your Pre K students, consider these practical tips:
- Set Up a Cutting Station: Create a designated area for cutting activities. This helps to contain the mess and keeps supplies organized.
- Incorporate Fun Themes: Use seasonal or thematic resources to make cutting practice more engaging. For instance, holiday-themed sheets can add excitement.
- Pair with Other Activities: Combine cutting practice with other fine motor activities like coloring or gluing to reinforce skills in a fun way.
- Celebrate Achievements: Celebrate small victories, whether it’s cutting a straight line or completing a sheet. Positive reinforcement encourages continued effort and enthusiasm.
By applying these strategies, you’ll create an environment where students can thrive and develop their cutting skills effectively.
Introduce cutting practice resources in your Pre K classroom today and watch your students grow their fine motor skills while having fun. Get started by downloading a variety of cutting practice worksheets, and remember to track their progress to celebrate each milestone.